
Changing a motorcycle tyre may seem daunting at first, but with the right tools and a step-by-step approach, you can successfully replace your tyre. Here’s a detailed guide for how to change a motorcycle tyre which will help you through the process, check at the end for do’s and don’ts, plus a motorcycle tyre FAQ which answers 2 of the most asked questions surrounding tyres…
Note: The following steps assume you are changing a tubed tyre. If you have a tubeless tyre, the process is similar, but you won’t have a tube to deal with.
Step 1: Preparation – make sure you have the tools you need.
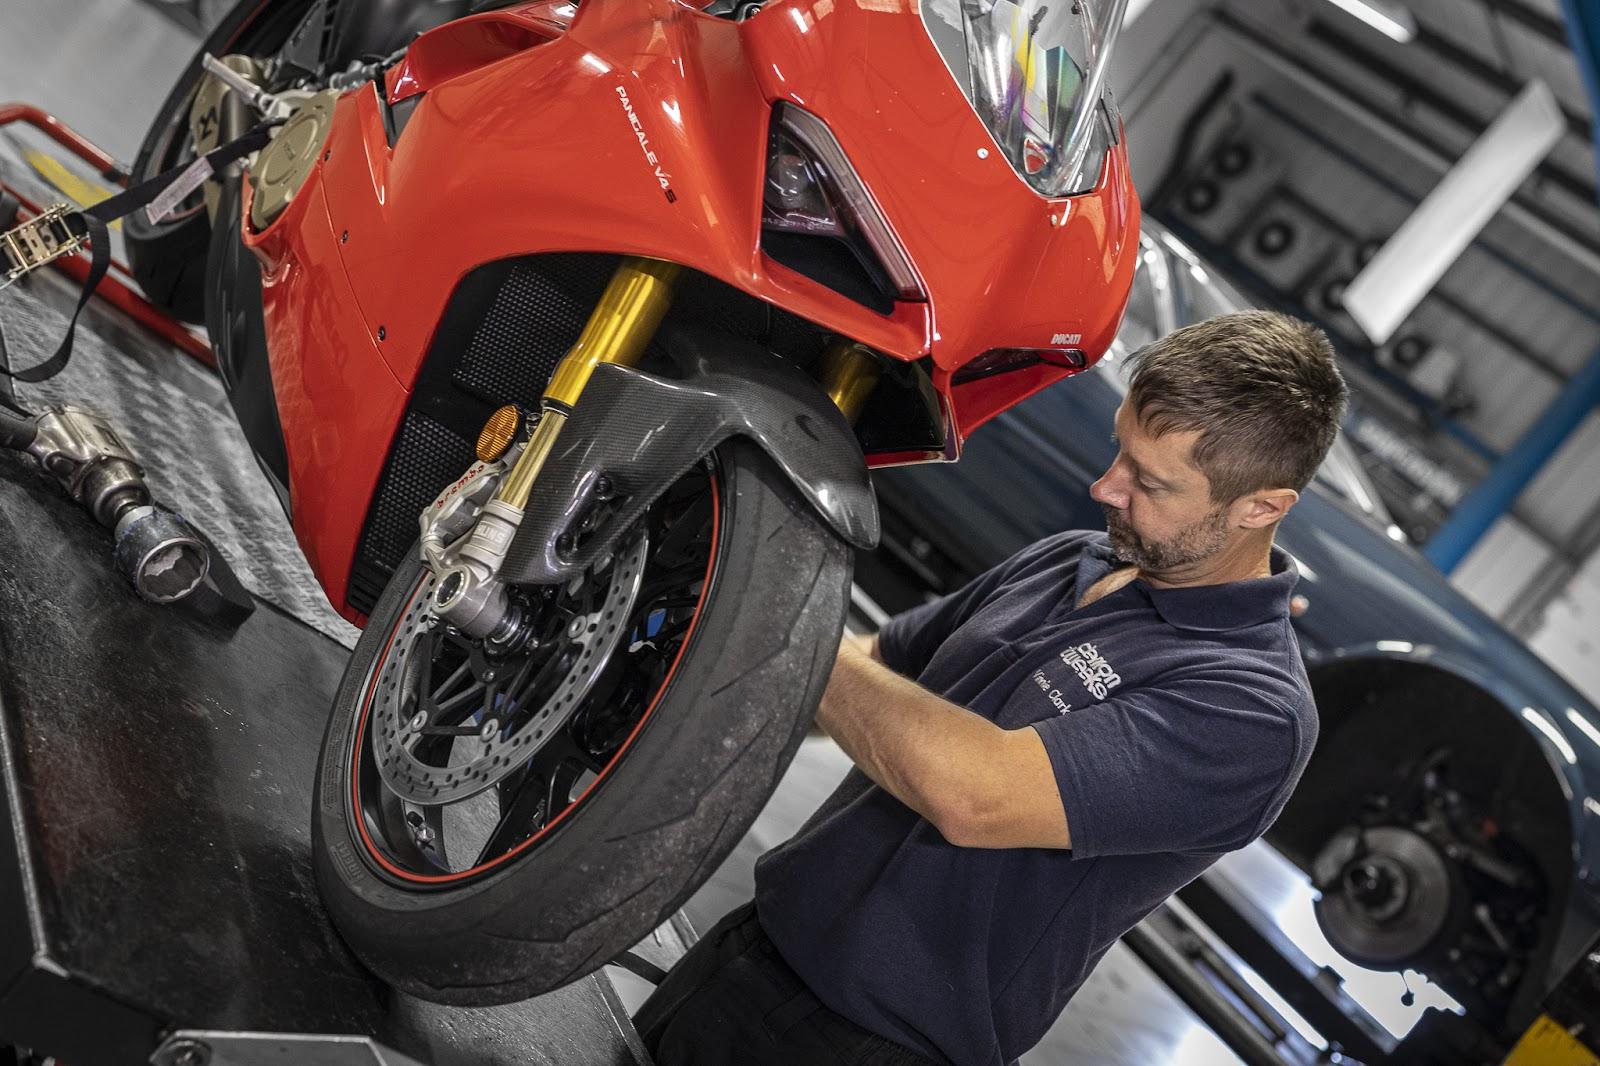
Step 2: Remove the wheel – can’t change the tyre with the wheel still on!
Step 3: Deflating the tyre – makes changing the tyre easier
Step 4: Breaking the bead – so you can remove the tyre
Step 5: Remove the old tyre – to make way for the new
Step 6: Install the new tyre
Step 7: Inflate the new tyre
Step 8: Put the wheel back on
Step 9: Final checks – tyre pressures, check clearance and wheel alignment, test the brakes

Tools Required:
Tyre Levers (at least two) – Motorcycle specific options are available but other tyre levers will work as well. Used to move the tyre away from the rim.
Valve Core Tool – A must have, designed for quick deflation and re-inflation of tyres.
Bead Breaker – To detach the inner edge of the tyre from the rim of the wheel.
Lubricant (soapy water or tyre mounting paste) – To use on the bead to help the tyre come away from the rim. Also to help lubricate the beads of the new tyre.
Air Compressor or Track Pump / Foot Pump – To inflate the new tyre.
Step 1: Preparation
Ensure you have a safe and well-lit workspace to work on your motorcycle. Park the bike on a stable surface and raise it using a stand or a lift. The bike needs to be lifted high enough to be able to remove the wheel(s) so you want to make sure the bike won’t move anywhere, you don’t want it falling on you or on the floor, mending a dent in your fuel tank could be expensive!
Here’s what to do next:
- Put on appropriate safety gear, including gloves and safety glasses, to protect yourself during the process.
- Gather all the necessary tools mentioned above before you begin.
Step 2: Removing the Wheel
To change a motorcycle tyre, you need to remove the wheel from the bike. Here’s how:
- Consult your motorcycle’s user manual to understand the specific steps for removing the wheel on your particular model. Different motorcycles have different methods, so it’s crucial to follow the manufacturer’s instructions.
- Generally, you’ll need to loosen the axle pinch bolts (if working at the front), then slacken the axle nut, before removing this and the wheel spindle, to release the wheel from the bike’s swingarm or forks. Use the appropriate wrenches or sockets to do this.
- Carefully slide the wheel, taking note of any spacers or washers that may be present.
Step 3: Deflating the Tyre
Before you can remove the tyre, you need to deflate it. Follow these steps:
- Remove the valve cap from the valve stem.
- Use a valve core tool to remove the valve core. This will release the air from the tyre. Keep the valve core in a safe place for later use.
- Ensure the tyre is completely deflated before proceeding.
Step 4: Breaking the Bead
The tyre bead is the inner edge of the tyre that sits against the rim. To remove the tyre, you need to break the bead. Here’s how:
- Use a bead breaker tool to separate the tyre bead from the rim. The bead breaker may come in different forms, such as a standalone tool or a part of your tyre changer.
- Position the bead breaker tool against the tyre sidewall, close to the rim. Apply downward pressure to break the bead free from the rim on both sides of the tyre.
- Work your way around the entire circumference of the tyre, breaking the bead completely.
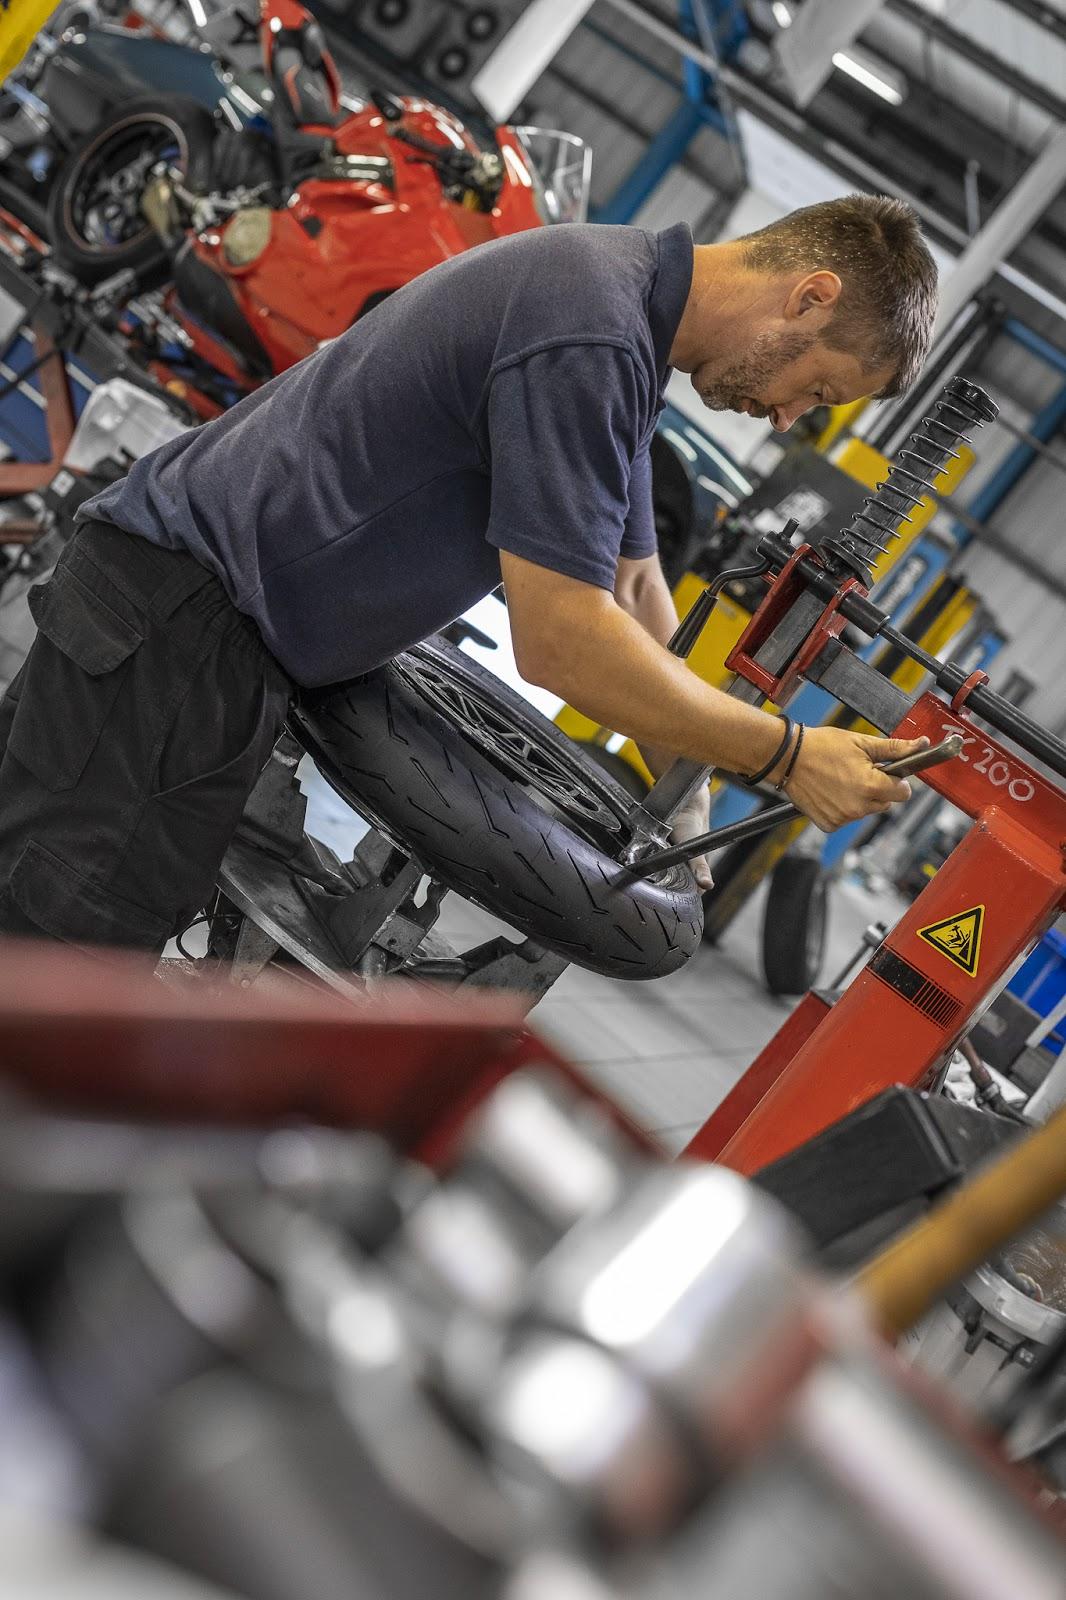
Step 5: Removing the Tyre
With the bead broken, you can now remove the tyre from the rim. Follow these steps:
- Insert a tyre lever between the tyre and the rim, near the bead break area.
- Pry the tyre lever upwards to lift the tyre bead over the rim. Use caution to avoid damaging the rim or puncturing the tyre/tube. You may want to use some rim protectors at this stage, to protect both the rim and the tyre from any unwanted damage.
- Insert a second tyre lever a few inches away from the first and repeat the process, gradually working your way around the tyre.
- As you go, pull the previously removed section back over the rim and push the opposing side of the tyre into the rim, to create slack for the next section.
- Continue this process until the entire tyre is off the rim.
For tubeless tyres the process is the same as the above but you might need a mechanical bead breaker as this might be quite tough to do by hand with a lever.
Step 6: Installing the New Tyre
Now that you have removed the old tyre, it’s time to install the new one. Follow these steps:
- Apply a thin layer of lubricant (soapy water or tyre mounting paste) to the inside of the new tyre’s bead and the rim. This will help ease the installation process.
- Starting at the valve stem, position the tyre onto the rim. Ensure the rotation arrow on the tyre aligns with the direction of rotation for your motorcycle.
- Using your hands or tyre levers, work the bead of the first half of the tyre over the rim. Then insert the tube into the tyre (It may be easier to slightly inflate the tube to aid it going in and reduce the risk of pinching the inner tube). Finally, with the help of your tyre levers, work the other half of the tyre of the rim – being careful not to pinch or catch the inner tube.
- Once the tyre is fully on the rim, use the tyre levers to ensure the bead is properly seated on both sides of the rim. Gently press around the circumference of the tyre to ensure an even fit.
For tubeless tyres, you may need to use compressed air until the tyre ‘pops’ against the rim. This is needed as a tubeless tyre works by forming a seal around the rim which is critical for the tyre to operate effectively without an inner tube.
Step 7: Inflating the Tyre
With the new tyre installed, it’s time to inflate it to the recommended pressure. Here’s what to do:
- Reinstall the valve core into the valve stem using a valve core tool.
- Attach an air compressor or foot pump to the valve stem.
- Gradually inflate the tyre to the manufacturer’s recommended pressure. Making sure the tyre is seated evenly around the rim. Refer to your motorcycle’s user manual for the correct tyre pressure.
- As you inflate the tyre, listen and feel for any air leaks. If you notice any leaks, stop inflating and investigate the cause.
- Once the tyre is properly inflated, remove the air compressor or foot pump, and replace the valve cap.
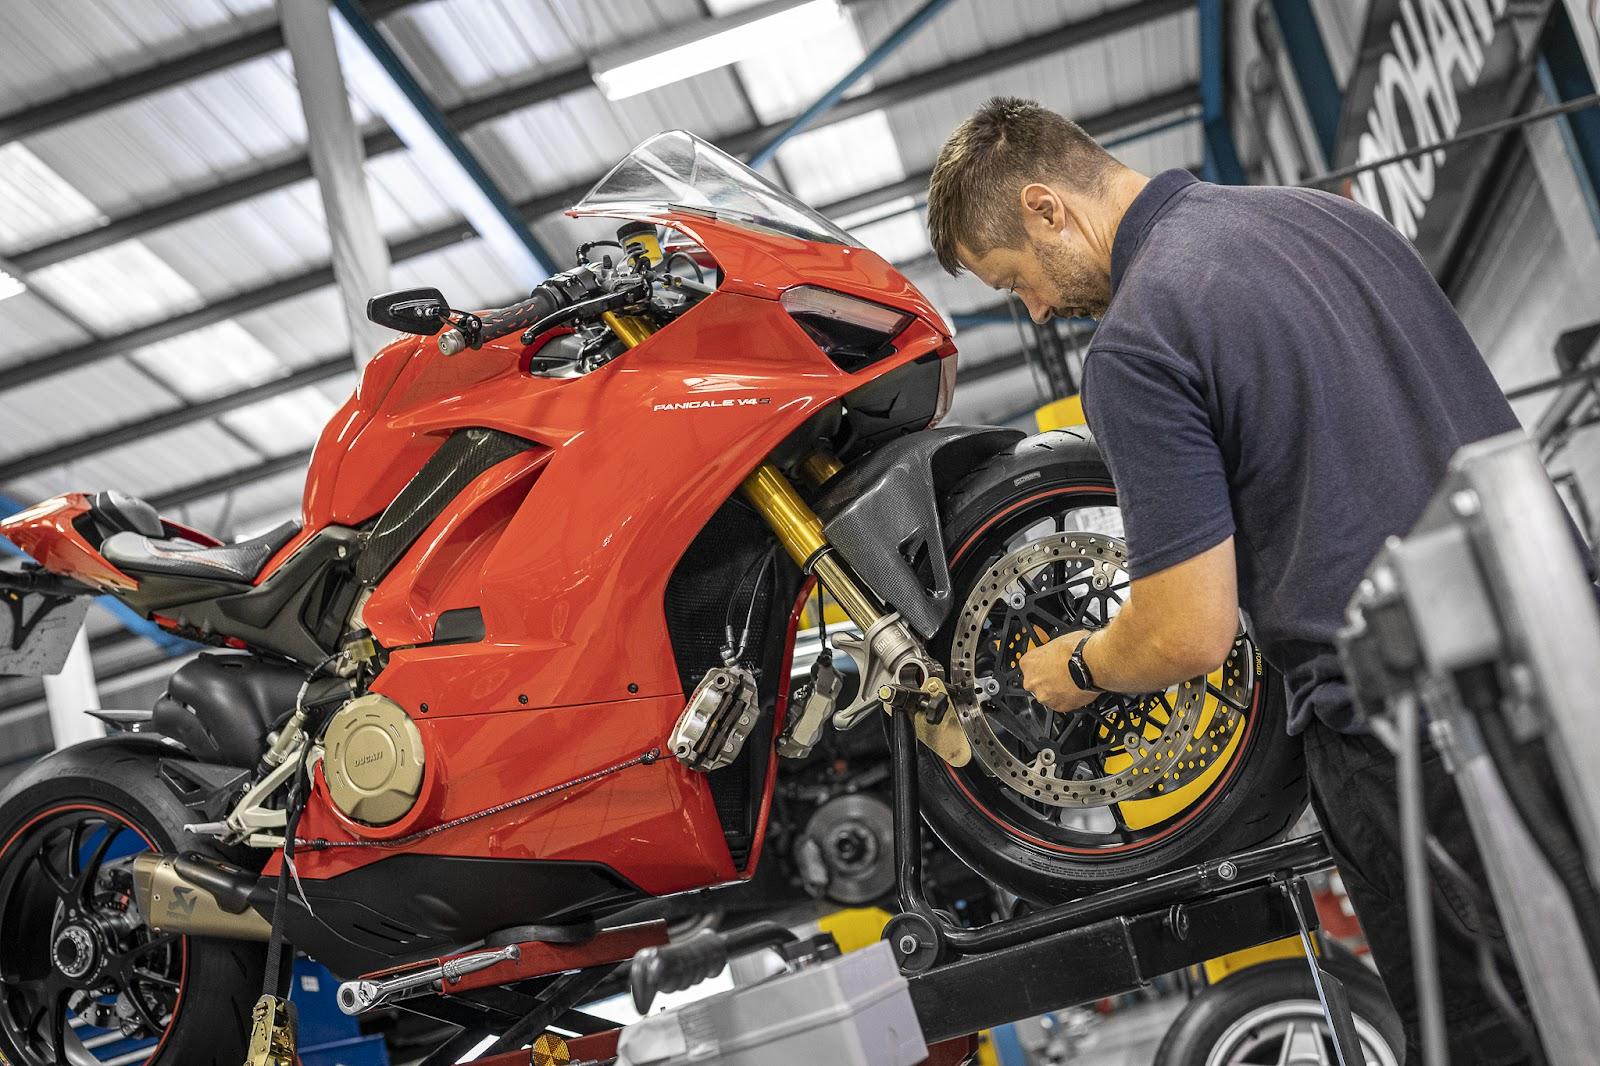
Step 8: Reinstalling the Wheel
After successfully changing the tyre, it’s time to put the wheel back onto your motorcycle. Follow these steps:
- Slide the wheel back into the axle, ensuring the spacers and washers are in their correct positions.
- Align the wheel with the axle, and carefully insert it, making sure it’s fully seated.
- Tighten the axle nut and axle pinch bolts according to the manufacturer’s recommended torque specifications. Again, consult your motorcycle’s user manual for specific values.
- Double-check that the wheel is properly aligned and secured.
Don’t forget to adjust and correct the chain or belt tension if your bike is equipped with one.
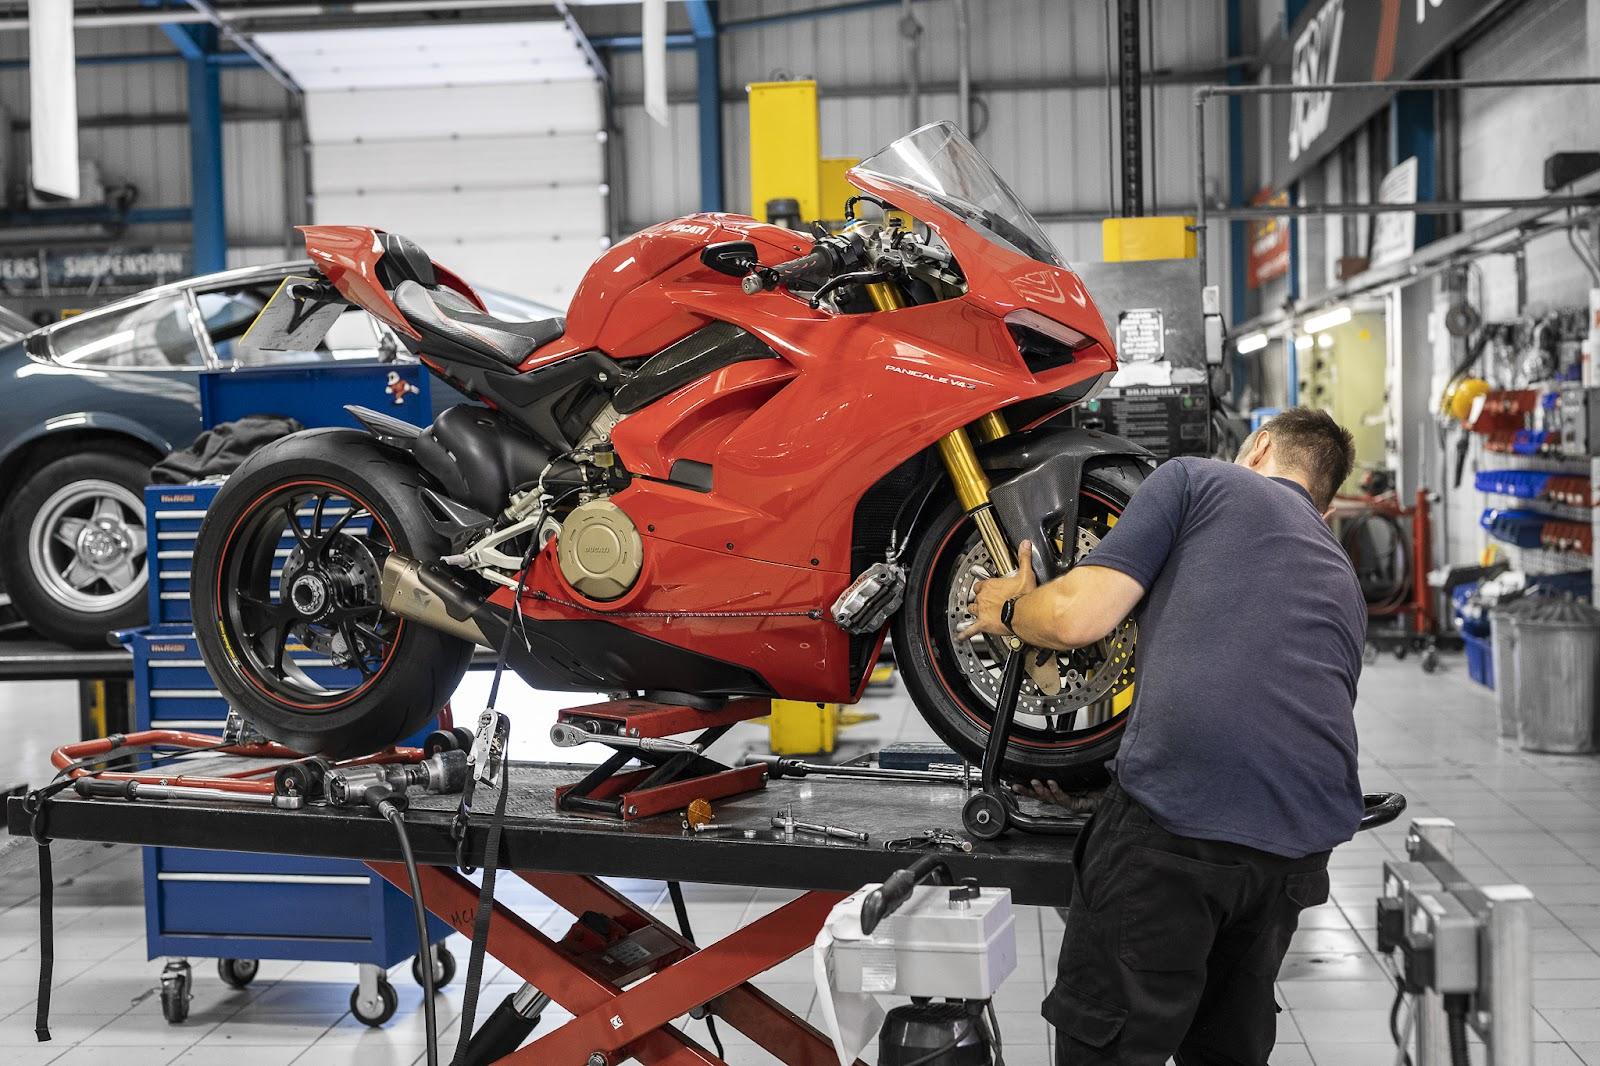
Step 9: Final Checks
Before taking your motorcycle for a ride, perform these final checks:
- Inspect the tyre to ensure it is properly seated on the rim and has an even fit.
- Check the tyre pressure once again using a reliable pressure gauge. Adjust if necessary.
- Spin the wheel by hand and listen for any unusual noises or rubbing.
- Test the brakes to ensure they are functioning correctly.
Tip:
While the bike is on the lift, it’s a perfect time to do any routine maintenance, such as assessing the chain, check brakes and air filters. This is also a perfect time to do an oil change if needed.

Do’s and Don’ts when changing motorcycle tyres
When changing motorcycle tyres, it’s important to follow certain dos and don’ts to ensure a safe and successful process. Here are some essential guidelines to keep in mind:
Do’s:
- Do use appropriate safety gear: When changing motorcycle tyres, always prioritise your safety. Wear gloves to protect your hands from sharp edges and potential injuries. Safety glasses will safeguard your eyes from debris or flying particles.
- Do inspect the tyre: Before starting the process, closely examine the tyre for any visible damage, such as cracks, cuts, bulges, or excessive wear. Also, check for any embedded objects like nails or screws. Ensure the replacement tyre is the correct size and type recommended for your motorcycle.
- Do gather the necessary tools: Before you begin, make sure you have all the required tools readily available. Having tyre irons, a valve core tool, a bead breaker, lubricant (such as soapy water or tyre mounting paste), and an air compressor or hand pump on hand will make the process smoother and more efficient.
- Do follow the manufacturer’s recommendations: Consult your motorcycle’s user manual for specific instructions on changing tyres. The manual will provide valuable information on tyre pressure, torque specifications, and any specific guidelines unique to your motorcycle model. Adhering to these recommendations ensures you maintain optimal performance and safety.
- Do use lubricant: Applying a suitable lubricant to the tyre bead and rim eases the tyre removal and fitting process. Lubricant reduces friction, making it easier to manipulate the tyre without excessive force. Ensure you use a lubricant recommended by the tyre manufacturer or consult your user manual for any specific instructions regarding lubrication.
Don’ts:
- Don’t use makeshift tools: To change a motorcycle tyre safely and effectively, it’s crucial to use proper tools specifically designed for the task. Makeshift tools or using tools not intended for this purpose can compromise your safety, damage the tyre or rim, or cause personal injury. Always use high-quality, dedicated tools for the job.
- Don’t overinflate the tyre: Maintaining the correct tyre pressure is crucial for optimal performance and safety. Overinflating the tyre can lead to decreased traction, compromised handling, and an increased risk of a blowout. Always follow the recommended tyre pressure specified by the motorcycle manufacturer, which can usually be found in the user manual or on a placard on the bike.
- Don’t force the tyre onto the rim: If you encounter excessive resistance while fitting the tyre onto the rim, avoid forcing it. Forcing the tyre can damage the tyre bead, rim, or even cause personal injury. Instead, reassess the situation, ensure the tyre is properly aligned, and consider using tyre irons to gradually work the tyre onto the rim. Take your time and apply gentle, even pressure to avoid any mishaps.
- Don’t neglect the valve core: When removing the tyre, it’s important to deflate it by removing the valve core. Take care not to damage or lose the valve core during the process. After the new tyre is fitted and before inflating it, ensure the valve core is properly reinstalled. Neglecting the valve core can result in air leaks or difficulty inflating the tyre.
- Don’t rush the process: Changing a motorcycle tyre requires attention to detail and precision. Rushing through the process can lead to mistakes, overlooking important safety measures, or improper tyre installation. Take your time, follow the step-by-step guide, and ensure each task is completed correctly before proceeding to the next. A patient approach will help you avoid costly errors and ensure a successful tyre change.
By following these dos and don’ts, you can change your motorcycle tyres safely and effectively, promoting optimal performance and ensuring a smooth riding experience. If you feel uncertain or encounter difficulties, it’s always advisable to seek professional assistance from a qualified mechanic.
Changing a motorcycle tyre is a task that can be accomplished with patience, the right tools, and following the proper steps. By carefully following this step-by-step guide, you’ll be able to confidently change a motorcycle tyre, ensuring your safety and optimal performance on the road. If you feel unsure or encounter difficulties during the process, it’s always recommended to seek professional assistance from a qualified mechanic.
Motorcycle tyre FAQ’s
Can you mix motorcycle tyres?
Mixing motorcycle tires, particularly with different tread wear or mixing brands and models, is not a good idea. It’s best to replace both the front and back tyres at the same time. It may seem annoying to replace a tyre which still has tread on it but using a matching set of tires on your bike is the best thing to do for performance and safety.
There are a few reasons for this:
- Handling and Stability: Different tire designs, compounds, and profiles can have varying characteristics, which can affect how your bike handles and behaves on the road. Mixing tires may result in inconsistent grip, stability, and responsiveness, potentially compromising your safety.
You need to remember that your bike’s contact point with the road is about the size of 2 playing cards, having tyres with different grip levels may lead to an accident.
- Traction and Performance: Tires are specifically engineered to provide the best traction possible in different conditions, such as dry, wet, or off-road. Mixing tires with different tread patterns or rubber compounds can lead to unpredictable performance, reduced grip, and your braking ability will be worse.
- Wear Patterns and Durability: Tires wear out over time, and their wear patterns can affect how they interact with the road. Mixing tires with different wear patterns may cause uneven wear and affect the overall durability and lifespan of the tires.
- Warranty and Liability: Mixing different tire brands or models may void the warranty provided by the tire manufacturer. It can also raise concerns with insurance companies if an accident occurs and it is determined that the use of mismatched tires contributed to the incident.
To ensure your safety and optimise the performance of your bike on the roads, it is recommended to replace tires as a matched set. Consult your manufacturer’s recommendations and consult with a professional at a reputable tyre dealer or service centre or look at forums online to see what others are using on their bikes.

How long do motorcycle tyres last?
The age old question of ‘how often should I change motorcycle tyres’ is one which will always spark debate. The lifespan of motorcycle tires can vary depending on several factors, including the type of tire, riding style, road conditions, maintenance, and manufacturer specifications. As a general guideline, here are some factors to consider when estimating the lifespan of motorcycle tires:
- Tread Wear Rating: Tires typically have a tread wear rating provided by the manufacturer. This rating gives an indication of the tire’s expected longevity compared to a standard reference tire. The higher the treadwear rating, the longer the tire is expected to last.
- Riding Style: Aggressive riding, such as frequent hard acceleration, braking, and cornering, can accelerate tire wear. On the other hand, conservative riding and smooth inputs can help extend tire life.
- Road Conditions: Riding on rough or abrasive surfaces, gravel, or off-road terrain can cause increased tire wear. Similarly, excessive exposure to extreme temperatures or sunlight can deteriorate tire rubber over time.
- Maintenance: Proper tire maintenance, including regular inspections, proper inflation, and correct wheel alignment, can help extend tire life. Underinflated or overinflated tires can wear unevenly and shorten their lifespan.
- Type of Tire: Different types of tires have varying lifespans. For example, sport-oriented tires, which prioritise performance over longevity, may wear out more quickly compared to touring or cruiser tires designed for long-distance riding.
As a rough estimate, motorcycle tires can typically last anywhere from 2,000 to 20,000 miles (3,200 to 32,000 kilometres) or after 5 years you should be looking to get a mechanic to verify they are still okay to use. If you still have the same tyres after 10 years you should change them before doing any riding, even if the tyres appear to be in a good condition.
Regularly inspecting your tires for signs of wear, such as tread depth, cracking, bulges, or other abnormalities, is crucial. If you notice any significant wear or damage, it’s recommended to replace the tires promptly, regardless of mileage. This comes from Michelin themselves! Additionally, it’s important to follow the tire manufacturer’s recommendations for tire replacement based on age, even if the tread depth appears sufficient.
Ultimately, as bike tyres are the only thing that is supposed to touch the floor and give you grip through all weather conditions, you should spend as much as you can afford on tyres. Prioritising safety and replacing tires when they show signs of wear or have reached the manufacturer’s recommended lifespan is crucial to ensure optimal performance and grip on the road.
Enjoyed this? Read more of our latest news:
- Best Motorcycle Tyres
- Understanding Motorcycle Tyre Markings
- How Long Does a Motorcycle Chain and Sprocket Last?
Where To Next?
Looking for the latest motorcycle parts and accessories? Check out our wide range from top brands.
Come and visit us at our store, showroom and fitting centre in Wrexham.
Want to know more about our story? Learn about who we are and why we’ve been driven by passion for over 50 years.
Interested in everything we do? Catch up on all the latest Demon Tweeks news.