
Last Updated on 4 June 2026 by Spencer Douglas
Brake performance is a critical aspect of any vehicle’s safety and control. Achieving the ideal brake bias, the balance of braking force between the front and rear wheels, is crucial for optimal performance on both the road and the track. One effective tool to fine-tune brake bias is the Monit Brake Bias Adjuster Dial. Monit are experts in real time data collection, if you are looking for how to improve your driving, this is the perfect tool for the job.
Step-by-Step Guide
In this guide, we will walk you through the process of fitting and installing this compact and powerful tool.
We have created a video guide on our YouTube channel if you prefer to watch a guide instead! 👇

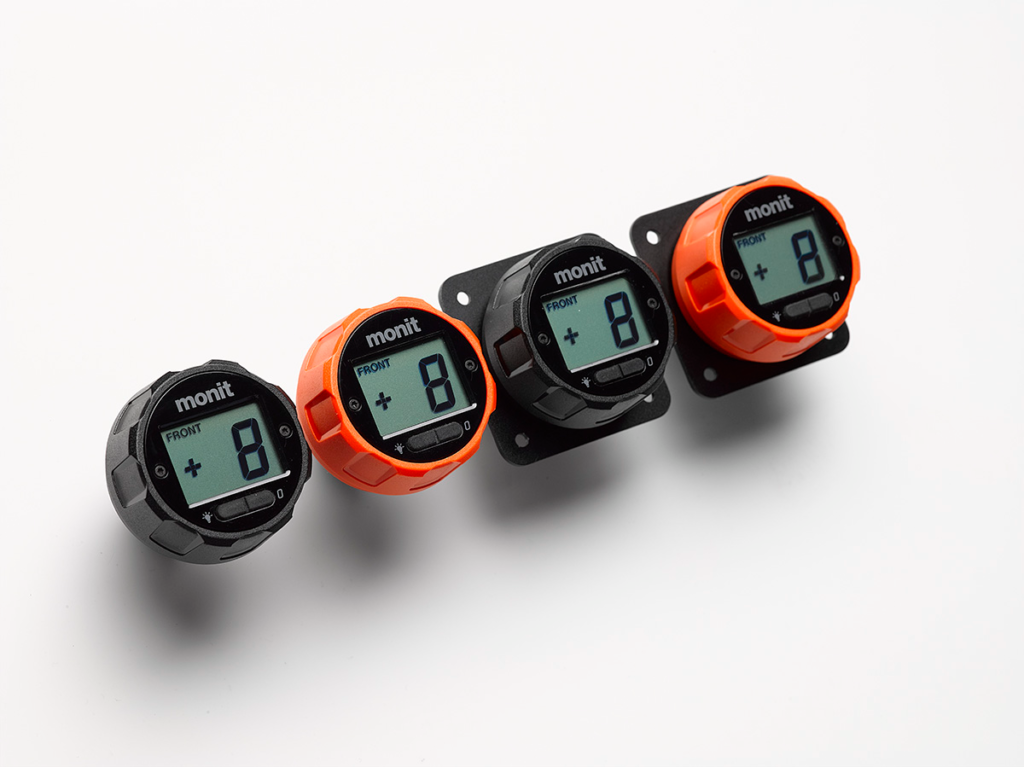
The Monit brake bias adjuster allows the driver to adjust the position of their vehicle’s braking bias via a very easy to set up and use dial. Which has an easy to read and understand LCD screen, it can be installed on new or existing balance bars and pedal boxes, plus it’s available as a bulkhead mounting or square. But we don’t need to tell you how good it is if you are looking to install it!
Step 1: Mount Installation Templates
The first step is to prepare the mounting location for the Monit Brake Bias Adjuster Dial. There are 2 ways you could be mounting the dial. Follow the steps below:
For the bulkhead mounting type:
- Use the provided template dimensions to mark out the centre hole and the hole for the anti-rotate fastener (if required).
- Drill the marked holes according to the template.
- Position the dial in place and tighten the bulkhead black M20 retaining nut finger tight, ensuring the anti-rotate screw is located in the drilled hole.
- Once in the correct position, continue tightening the retaining nut to a sufficient torque, which may vary depending on the material it is binding to.
For the square mounting type:
- Again mark out the centre hole and the 4 mounting screw holes, which are shown on the template dimensions which are provided with your dial.
- Secondly you need to drill the holes which you have marked out and put the dial in place. Affix the dial with the supplied 4x M4 black stainless steel cap screws and locknuts.

Step 2: Cable Installation
Now that the dial is securely mounted, you need to install the cable for connecting it to the balance bar. Follow these steps:
- Choose a suitable location for mounting the Brake Dial, considering the cable routing to the balance bar on the brake pedal and any potential obstructions.
- For optimal performance, aim for fewer and larger bends in the cable, taking the shortest and most direct route from the dial to the balance bar.
- Based on the routing, you may need to shorten the cable length. Trial fit the cable and mark where it needs to be cut. Remove the assembly from the vehicle and cut the cable, making sure to braze the inner cable at the cut mark to avoid fraying.
- Cut the cable outer 20mm shorter than the finished inner cable length.
- Use the provided cable clamps to secure the cable to your vehicle. Ensure you use all the clamps provided for optimal performance.
- Insert the cable inner into the appropriate balance bar adaptor (3/8″ or 7/16″ depending on balance bar thread) and tighten the M4 grub screw to a torque of 0.5-1.0Nm. Apply the same torque setting for the end of the cable inserted into the back of the Brake Dial.
- Secure the balance bar adaptor by tightening the jam nut against it, following the recommended torque settings from your balance bar manufacturer.
- Observe the effect of rotating the dial clockwise on the brake bias and apply the relevant rotation direction label to reflect this.


If you are looking for a setup guide once installed, check the user guide!
You’re All Set
Achieving the perfect brake bias is essential for maximising the performance and safety of your vehicle. By fitting the Monit Brake Bias Adjuster Dial, you gain precise control over the brake bias, allowing you to fine-tune it according to your driving preferences and conditions. With its easy installation process and reliable performance, this dial is a valuable addition to any vehicle. Enhance your braking system and unlock a new level of control on the road or track, from gravel to tarmac you won’t know how you drove without it once you have it!
Enjoyed this? Read more of our latest news:
- Step By Step Guide To Get A Motorsport Licence
- Why Was The Super Touring Car Era So Iconic
- What you need to know in Motorsport 2023
Where To Next?
Looking for the latest motorsport parts and accessories? Check out our wide range from top brands.
Come and visit us at our store, showroom and fitting centre in Wrexham.
Want to know more about our story? Learn about who we are and why we’ve been driven by passion for over 50 years.
Interested in everything we do? Catch up on all the latest Demon Tweeks news.